Oct 24, 2022
Build a Dynamic Configuration Loader in Node.js

In programming, the configuration is a list of key-value pairs used to configure the parameters and initial settings of computer programs in order to customize their behaviour.
In Node.js, these values are usually defined in the environment of the process and can be accessed though the global process.env object.
Although practical, this method presents two drawbacks:
-
It forces a program to rely on the fluctuating environment of the target machine whose variables can be overwritten or deleted by other developers or programs.
-
It forces developers to overwrite these values every time they want to change the deployment environment of the application (development, staging, production, and so on).
A better way is to use several configuration files — one per deployment environment — that are loaded upon process startup.
The NODE_ENV variable
The NODE_ENV variable is an environment variable popularized by the Express framework that specifies the deployment environment in which an application is running such as development or staging.
Just like any other environment variable, it can be accessed through the global process.env object and used an option flag to run a specific piece of code or as a dynamic parameter to change the application’s behaviour, like for example turning debugging on and off.
This variable can be set locally by declaring it right before the command — which means that it will only be visible by that program.
$ NODE_ENV=development node index.js
Or globally using the export utility — which means that it will be visible by all the programs.
$ export NODE_ENV=development
To illustrate this, we can create a script named index.js that will simply log the value of this NODE_ENV variable.
// index.js
console.log(process.env.NODE_ENV);
And test it by running the following commands in a new terminal window.
$ NODE_ENV=development node index.js
development
$ NODE_ENV=production node index.js
production
The dotenv package
dotenv is a zero-dependency Node.js package, that loads environment variables from a file into the environment of the running process.
$ npm install dotenv
The config() function exposed by the dotenv module will by default attempt to parse the content of the .env file located in the top-level directory of the project.
var_1=123
var_2=hello
It will then assign its value to the global process.env object and either return an object containing a parsed key with the loaded content or an error key otherwise.
const { config } = require('dotenv');

const env = config();
if (env.error) {
  throw env.error;
}
console.log(env.parsed);
Alternatively, if we want to name our configuration file differently, we can tell dotenv which file to load by passing an optional object with a path property to the config() function.
const { config } = require('dotenv');

const env = config({
  path: '/path/to/config'
});
The configuration loader module
As mentioned in the introduction, a real-world application must be able to switch between multiple deployment environments, and therefore load the appropriate configuration file according to context — which can easily be achieved using a combination of the NODE_ENV environment variable and the dotenv package.
Let’s start by creating two configuration files named .env.development and .env.production, that will contain a variable named SERVER_PORT representing the port number a server would listen to for incoming requests.
$ echo "SERVER_PORT=3000" > .env.development
$ echo "SERVER_PORT=80" > .env.production
Let’s create a module named loadenv.js that exports a factory function that:
-
Uses the dotenv package to load a specified file defined by the following string interpolation; which will default to ".env.development" if the NODE_ENV variable is undefined.
-
Throws an error if the file doesn’t exist or cannot be accessed for some reason.
-
Returns a formatted object based on the parsed data.
// loadenv.js
const { config } = require('dotenv');

module.exports = () => {
  const env = config({  // (1)
    path: `./.env.${process.env.NODE_ENV || 'development'}`,
  });

  if (env.error) {  // (2)
    throw env.error;
  }
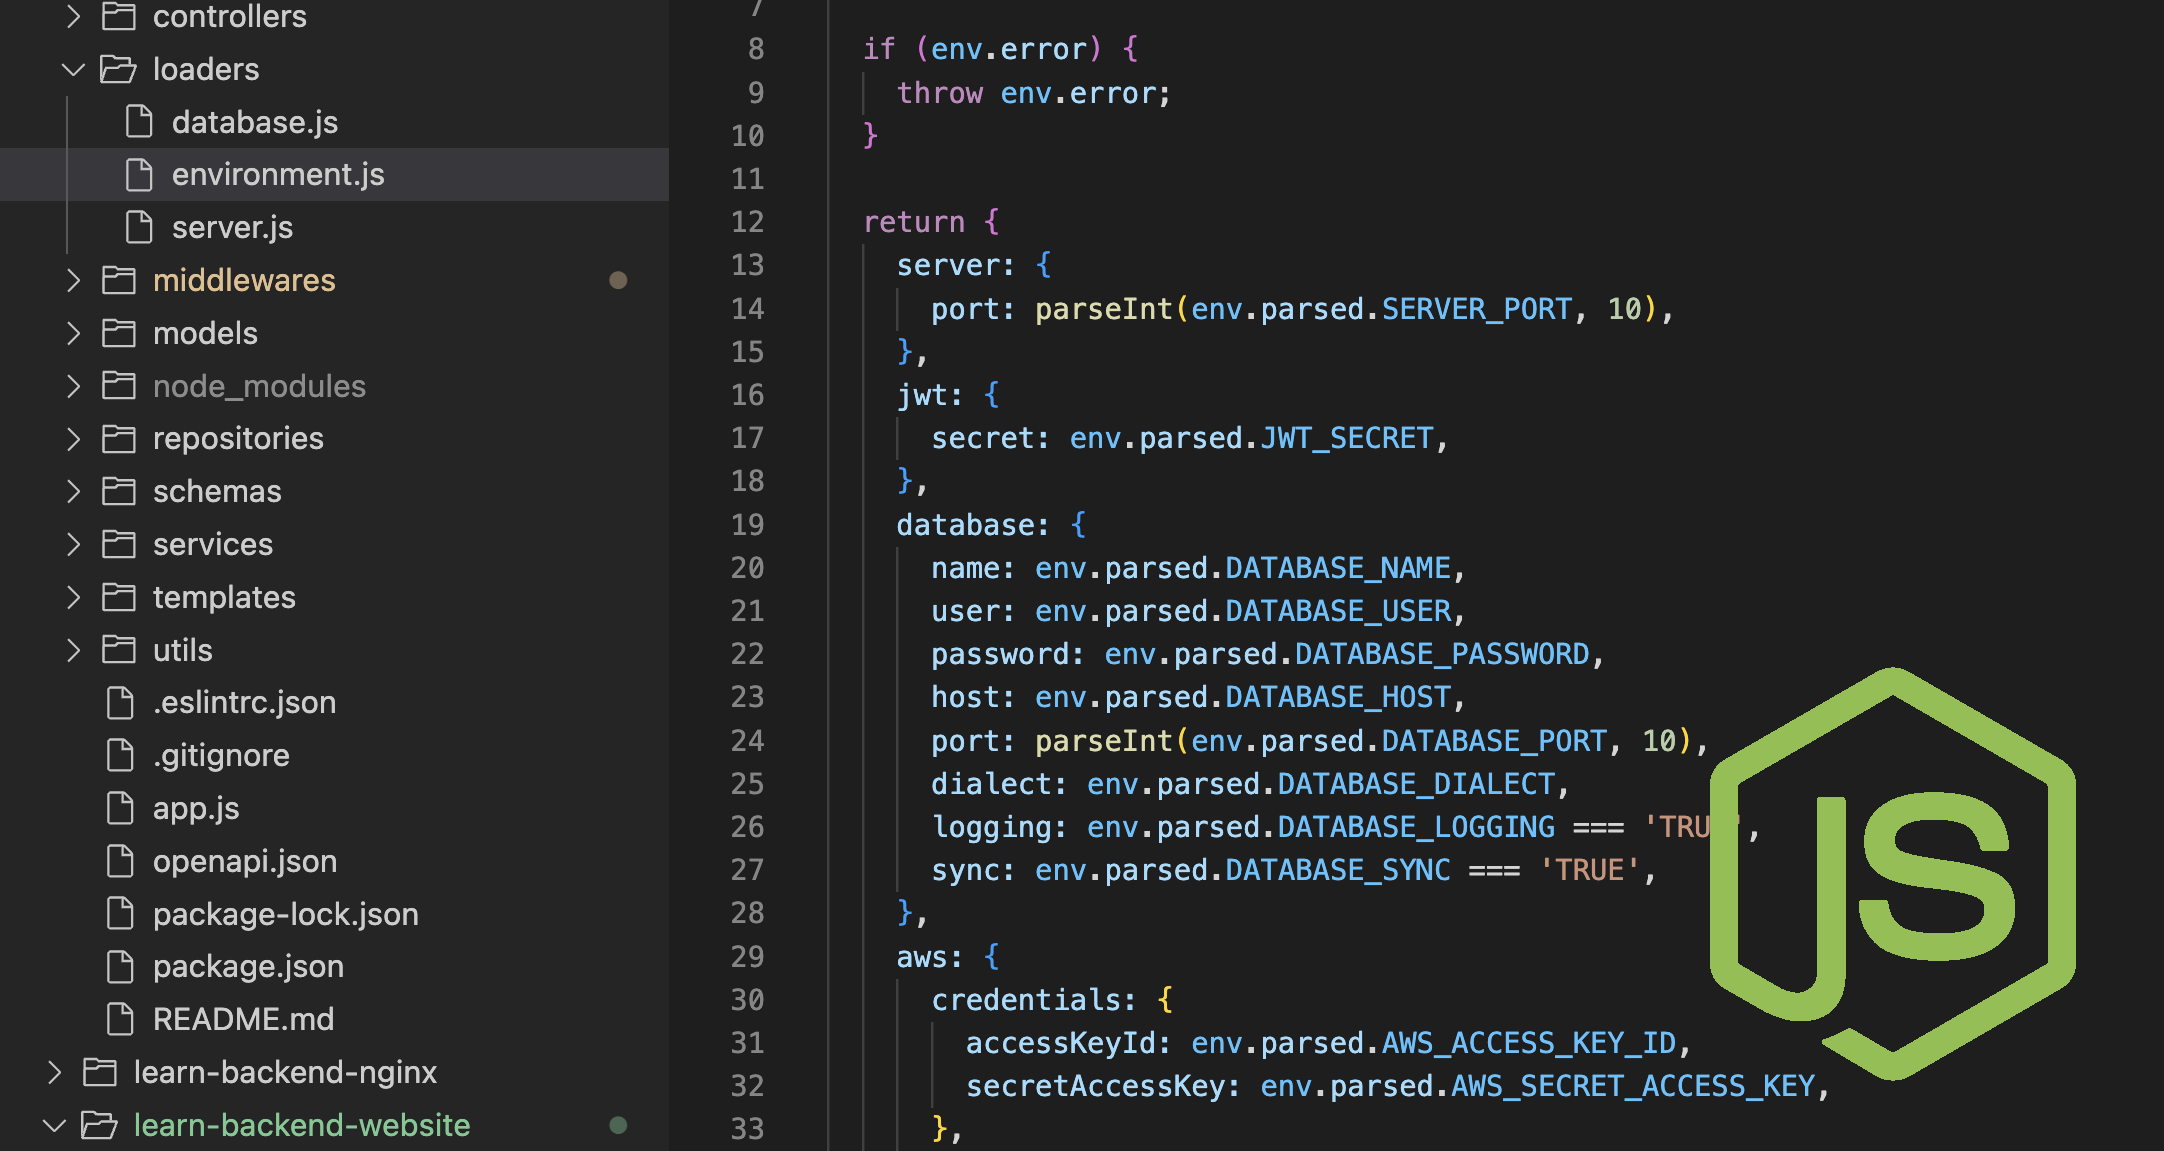
  return {  // (3)
    server: {
      port: parseInt(env.parsed.SERVER_PORT, 10),
    },
  };
};
Let's create a script named index.js that imports the configuration loader module and logs the object it returns when invoking it.
// index.js
const Env = require('./loadenv');

try {
  const env = Env();
  console.log(env);
} catch(error) {
  console.error(error);
  process.exit(1);
}
Finally, let’s test the loader module by running the following commands in a terminal window, which should print the correct SERVER_PORT value according to the deployment environment defined per the NODE_ENV environment variable.
$ NODE_ENV=development node index.js
{ server: { port: 3000 } }
$ NODE_ENV=production node index.js
{ server: { port: 80 } }
$ node index.js
{ server: { port: 3000 } }
You can now easily add new variables to your configuration files.
# .env.development
SERVER_PORT=3000
DATABASE_NAME=project
DATABASE_USER=user
DATABASE_PASSWORD=password
And regroup them under a common key within the object returned by the configuration loader.
// loadenv.js
// ...
return {
  server: {
    port: parseInt(env.parsed.SERVER_PORT, 10),
  },
  database: {
    name: env.parsed.DATABASE_NAME,
    user: env.parsed.DATABASE_USER,
    password: env.parsed.DATABASE_PASSWORD,
  },
};


